Friday, December 10, 2010
Thursday, November 18, 2010
Wednesday, November 10, 2010
Friday, October 29, 2010
Friday, October 15, 2010
Wednesday, October 6, 2010
Thursday, September 30, 2010
Wednesday, September 22, 2010
Tuesday, March 30, 2010
Flying Squirrel FTW
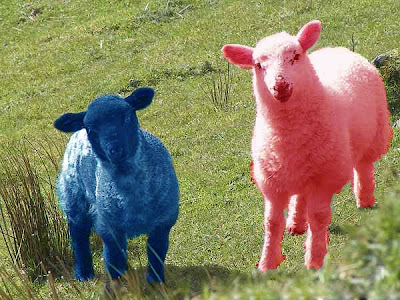
 This is an example of a picture using the elliptical marquee tool. Go to your browser and find a picture that you want to use. Next, drag the photo into Photoshop and press + 0 (command)to resize the image. Click on the elliptical marquee tool that is the second tool on the dropdown menu. Create an elliptical around the part of the image you want to see. Go to the select tab and press inverse. This will reverse the direction of the highlighted area so that you can change the colour of the outside part of the image. To change the colour, press “Set background Colour’” which is the last 2 boxes with colours. Change the bottom box to the colour you want and press delete. To make the cutout feathered, choose the elliptical marquee tool and make another circle inside the previous one you made. Go to Refine Edge in the option menu and change the feathering to your personal choice. Press Delete when you are done to finalize the image. There you have it!
Sunday, March 28, 2010
SpiderGolosky
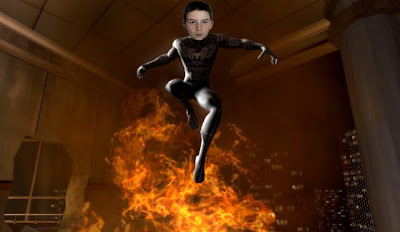 This picture uses the magnetic lasso tool. It is very simple and easy to create. First I took a picture of my face on Photo booth using the Mac webcam. Insert the image from Photo booth into Photoshop. Using the lasso tool, draw around your face and then drag in into the picture of Spiderman. Move the face so that it matches the original face of Spiderman. That is how you make this photo.
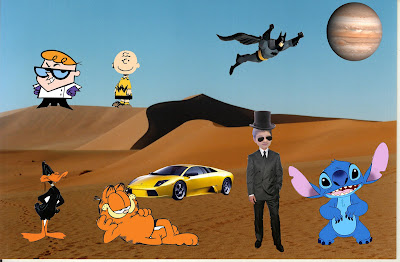
Land of Cartoons
Colour Goats
BirdCow
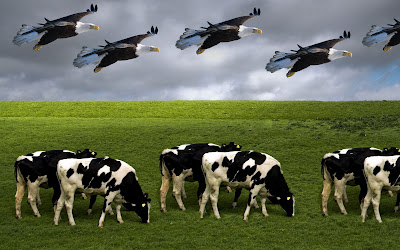
This picture is made using the clone tool, magnetic lasso tool and the patch tool. Grab an image from the Internet, in this case, I chose a cow and an eagle. The first picture, the cow, and use the clone stamp tool and hold down the option key. While holding the key down, press any part of the cow image. You have now selected a piece of the picture. Draw the clone on another part of the document and clone as many times as you want. The eagle was a second image. Use the elliptical marquee tool and highlight the eagle. Use the clone stamp tool and again, press the option key and start cloning. This is a very easy picture to make and can look very cool.
Monday, March 22, 2010
Deron Williams Stamp

Deron Williams is a member of the NBA team, Utah Jazz. This is a stamp that was created using a program called Photoshop. First, I searched the internet for a picture of both Deron Williams and the Utah Jazz logo. Once you get the pictures you want, drag the picture of Deron Williams and the logo in Photoshop and use the second tool named the rectangular Marquee Tool to choose which part of the picture you want to stamp. Go to Edit, and select Define Brush Preset. Do this for both pictures. Next, go to file and select New to create a new file. Change the width of the new file to 8.5 inches and the height to 11 inches. This is the size of a standard size of paper. In the new file, choose the brush tool and in the options bar, select the arrow pointing down to choose more. Your picture will be the last on the list. After selecting the stamp of Deron Williams, you can adjust the size by clicking the square brackets beside the "P" key on your keyboard. Now stamp the picture however you want. After you have finished stamping the pictures, select your logo and stamp it in the middle of the page. To change the colour, click the foreground colour picker at the bottom of the tool bar.
Subscribe to:
Comments (Atom)


.jpg)


